by Michael Frye | Aug 15, 2012 | Announcements, Workshops

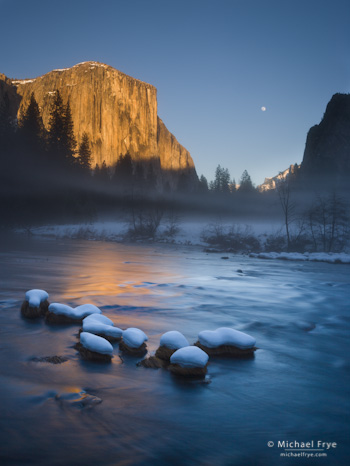
A January moonrise from Valley View, Yosemite
The Ansel Adams Gallery recently announced their 2013 workshops. I’m pleased to be teaching four Yosemite photography workshops for the Gallery next year—Landscapes in the Digital Darkroom: Mastering Lightroom (January); Spring Yosemite Digital Camera Workshop (April); Hidden Yosemite (July); and The Digital Landscape: Autumn in Yosemite (October).
As many of you know, I’m a big fan of Lightroom because it’s simple, yet powerful—easy to use, but sophisticated enough to get great results with almost any image. Last January was the first time I taught a workshop specifically focused on this tool: Landscapes in the Digital Darkroom: Mastering Lightroom. This class was popular, and a lot of fun, so we’ll be doing it again next January. Of course it’s not all computer work—the workshop includes field sessions to photograph snowy January landscapes, the rising full moon, and, if we’re lucky, clearing storms. I’m really looking forward to it!
The other three workshops—Spring Yosemite Digital Camera Workshop, Hidden Yosemite, and The Digital Landscape—have been very popular in the past, and sometimes fill quickly, so be sure to reserve space early.
And stay tuned… I’ll be announcing more workshops within the next month.
(more…)
by Michael Frye | Jun 15, 2012 | Digital Darkroom

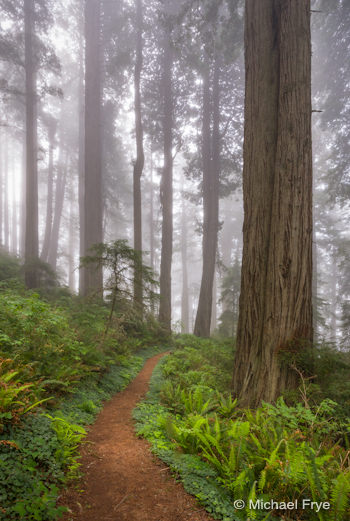
Path through foggy redwoods
I meant to post this earlier, but if you haven’t heard, Lightroom 4.1 was officially released about two weeks ago. So if you’ve been waiting to upgrade to Lightroom 4 until Adobe fixed the bugs, I think your wait is over, as the major problems should have been addressed. I know the point curve bug was fixed with the 4.1 RC (“release candidate”), so that shouldn’t be an issue any more.
Lightroom 4 is a big step forward in Raw image processing, but the advancements require a lot of horsepower to work properly. So check the system requirements before you take the plunge. Many people have had to upgrade their operating system to run Lightroom 4, and upgrading your OS can be a big undertaking, requiring that you update other applications as well.
Earlier I posted two videos about Lightroom 4, so if you haven’t watched those yet they can help you get up to speed in the new process. Here are links to Part 1 and Part 2.
The first image here, as well as all of the images from Monday’s post—including some pretty high-contrast scenes—were processed exclusively in Lightroom 4. In the comments for that last post JayM asked if I could make a tutorial on how I processed the first image. That’s a great suggestion, but for now you’ll find a screen shot below that shows the Basic Panel settings for that photograph. (I didn’t use the Tone Curve, which is not unusual for me these days with high-contrast images in Lightroom 4.)
(more…)
by Michael Frye | Apr 20, 2012 | Uncategorized
(If you’re getting this post through email, click here to view the video.)
Here it is, my second video about the new process in Lightroom 4. In Part One I explained how the new tone controls work; here in Part Two I talk about how to use these new tools to process both low- and high-contrast images. Here are some of the main points:
– Where to begin? If you’ve read my eBook Light and Land, or watched one of my previous videos about curves, you know that in the old process I preferred starting with all the Basic tone controls set at zero, and the point curve linear. Does this still apply in the new process? (1:10)
– Curves or sliders? The new Basic Tone sliders are much better than the old ones; are they good enough to replace the Point Curve? (10:30)
– Does the order matter? Adobe suggests using the Basic tools in order from top to bottom, starting with Exposure, then Contrast, and working down to Highlights, Shadows, Whites, and Blacks—essentially working from the midtones out to the black point and white point. But this contradicts a long-standing tradition in digital imaging of setting the black point and white point first. Should you stand with tradition, or embrace the new order? (13:02)
– Processing a high-contrast image. (21:04)
This video is about 27 minutes long, so, as I said with Part 1, grab your favorite beverage, sit back, relax, and enjoy the show. Spending a little time with this video now will save time later when you’re processing photos. More importantly, I hope that this video will help you get the most out of your images so that they convey what you saw and felt when you pressed the shutter.
As I mention in the video, the best way to learn more about processing images in Lightroom is to take a workshop. There’s are still a couple of spots available in my October workshop, The Digital Landscape: Autumn in Yosemite. This is a comprehensive course covering the entire process from capture to print, with field sessions covering exposure, composition, and everything you do before pressing the shutter, and lab sessions where we process and print the images with Lightroom.
I hope you enjoy Part 2!
—Michael Frye
Related Posts: Lightroom 4: The New Tone Controls; Using Curves in Lightroom and Camera Raw
Michael Frye is a professional photographer specializing in landscapes and nature. He is the author and photographer of The Photographer’s Guide to Yosemite, Yosemite Meditations, and Digital Landscape Photography: In the Footsteps of Ansel Adams and the Great Masters, plus the eBooks Light & Land: Landscapes in the Digital Darkroom, and Exposure for Outdoor Photography. He has written numerous magazine articles on the art and technique of photography, and his images have been published in over thirty countries around the world. Michael has lived either in or near Yosemite National Park since 1983, currently residing just outside the park in Mariposa, California.
by Michael Frye | Apr 13, 2012 | Uncategorized
(If you’re getting this post through email, click here to view the video.)
As I wrote last week, Lightroom 4 represents a big change—the biggest change to Adobe’s Raw processing engine since Adobe Camera Raw was introduced in 2003. They’ve completely revamped the underlying algorithms for all of the tonal controls, and changed the behavior, and in some cases the names, of all the Basic Tone sliders.
Overall, I’m really happy with the new process, especially for high-contrast images. But if you’re accustomed to Lightroom 3 the new tools may seem strange at first. So I’ve been working on two videos to explain the changes and how to work with the new tools.
The first video, embedded here, explains some of the differences between the old and new processes, how the new tools work, and the ways they affect an image’s appearance. Here are some of the main points:
(more…)
by Michael Frye | Apr 6, 2012 | Digital Darkroom

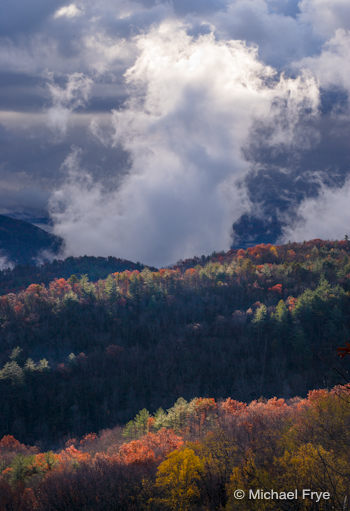
Clearing storm along the North Carolina-South Carolina border—processed with Lightroom 4
I’ve finally had a chance to really dive into Lightroom 4, and I’m very happy with the results I’ve been getting. While I haven’t found a big difference in processing low-contrast images, with high-contrast scenes the improvements are significant.
The accompanying image was made during my trip to South Carolina last November. It was a fast-changing situation—the sun suddenly broke through, and I missed the exposure slightly, so the brightest highlights at the top of the clouds were blown out. By the time I adjusted the exposure the scene had changed.
(more…)

