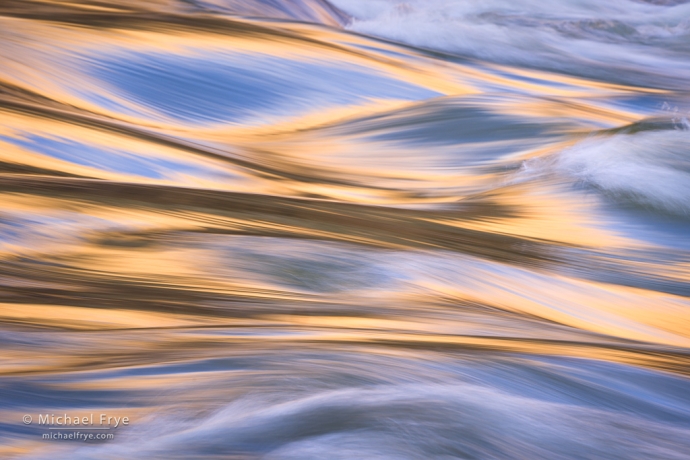
Rapid and reflections in the Colorado River, Grand Canyon NP, Arizona. The lower-right portion of this photograph had a large blemish caused by a water spot on the sensor. This would have been difficult to remove using traditional retouching tools in Lightroom or Photoshop, but took about five seconds with the new Generative-AI mode in Lightroom.
Yesterday Adobe announced significant upgrades to Lightroom, Lightroom Classic, and Camera Raw.
To me, the biggest news is the addition of “Generative AI” for retouching. This uses similar technology to Generative Fill in Photoshop, but isn’t designed to add or create things – only to remove objects. In fact Adobe changed the name of the Healing tool to the Remove tool.
Whatever you call it, Generative AI is a big leap forward in the retouching capabilities of Lightroom. It makes Lightroom almost as powerful as Photoshop for retouching, but unlike Photoshop it works in a completely flexible, non-destructive way. Generative AI does have some limitations, however, which I discuss below.
Adobe released major updates for Lightroom and Camera Raw last week (version 12.3 for Lightroom Classic, 6.3 for the cloud version or Lightroom, and 15.3 for Adobe Camera Raw). Lightroom Classic now has Curves in the Masking Panel, which I’ve been hoping to see for a long time. But I’ll talk about that later, because to me the most exciting news is the new AI-powered Denoise tool.
I’ve used most of the noise-reduction tools out there, but the new Denoise function in Lightroom and Camera Raw has quickly become my favorite. It’s not perfect, and it has limitations, but it’s performed minor miracles on some of my noisiest, most troublesome photos.
The new Masking Panel is one of the biggest changes to Lightroom since 2012. It’s incredibly powerful and flexible, with better tools for viewing and organizing all your local adjustments, two new AI-powered selection tools (Select Subject and Select Sky), and best of all, the ability to combine selections in almost unlimited ways to create exactly the selection you want.
I’m really excited about all these new capabilities, but there’s a lot to learn, and it takes some getting used to. So I’ve just finished a new three-part video tutorial all about Lightroom’s Masking Panel.
I’ve included Part 1 here for free to help get you up to speed with the Masking Panel. This video will help you navigate the new layout and learn how to use its great new tools for viewing, organizing, and renaming your masks.
On October 20th Adobe released an update to Lightroom, Lightroom Classic, and Adobe Camera Raw that included a new tool – the Color Grading panel. It replaces the old Split Toning panel.
What is color grading? I guess I have a broader definition of that term than Adobe does. To me, color grading includes a wide range of color adjustments that go beyond the basics of setting a white balance and adjusting saturation. Mainly I think about adjusting individual hues to either bring the colors of an image into better harmony, or to separate and differentiate hues to create more color contrast.
Adobe just a released a new update to Lightroom Classic. There’s nothing earth-shattering here, but they’ve added a couple of nice new features that I think you’ll find helpful: a new Hue slider for local adjustments, and an updated interface for the Tone Curve. I explain these changes in this video:
(If you’re viewing this post as an email and can’t see the video, click here.)
There’s a lot going on under the hood in Lightroom – things that aren’t obvious, and aren’t talked about much, not even by Adobe. For example, all the Tone sliders in the Basic Panel are image-adaptive – that is, their behavior changes based on the image content. The two most important image-adaptive behaviors are the automatic highlight recovery, and the automatic black-point adjustment, which kick in when a raw file has overexposed highlights or underexposed shadows.
The seven-minute video above explains how the automatic highlight recovery and automatic black point adjustment work. The full 44-minute video about the Basic Panel Tone Controls has much more, including an in-depth look at all the Tone sliders, an explanation of why Adobe’s default settings might not be the best starting place for many images, and demonstrations of how I approach processing both high-contrast and low-contrast images in Lightroom.
I’ve been using Lightroom since Adobe released the beta version in 2006. Over the years I’ve learned many shortcuts, and in this video I share some of my favorite tips – things I use all the time to streamline my workflow:
We will never sell or share your email address with anyone. Read our complete Privacy Policy.
Subscribe to My Blog:
Success! Now check your email to confirm your subscription.