Digital Darkroom
by Michael Frye | Apr 23, 2023 | Digital Darkroom, Video Tutorials
Lightroom’s Powerful New Denoise Tool
Adobe released major updates for Lightroom and Camera Raw last week (version 12.3 for Lightroom Classic, 6.3 for the cloud version or Lightroom, and 15.3 for Adobe Camera Raw). Lightroom Classic now has Curves in the Masking Panel, which I’ve been hoping to see for a long time. But I’ll talk about that later, because to me the most exciting news is the new AI-powered Denoise tool.
I’ve used most of the noise-reduction tools out there, but the new Denoise function in Lightroom and Camera Raw has quickly become my favorite. It’s not perfect, and it has limitations, but it’s performed minor miracles on some of my noisiest, most troublesome photos.
(more…)
by Michael Frye | Dec 18, 2022 | Announcements, Digital Darkroom
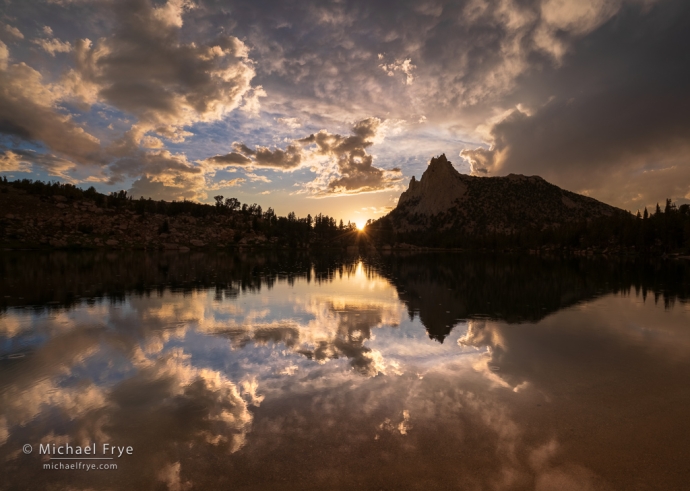
Sun setting over an alpine lake, Yosemite
I’m pleased to be joining the Winter Speaker Series on Nic Stover’s Nature Photography Classes site. The Winter Speaker Series will be focused on image processing, and includes online presentations by David Kingham, Nick Page, Sean Bagshaw, and me.
My talk will be about the Masking Panel and local adjustments in Lightroom Classic. The Masking Panel is incredibly powerful, allowing you make and combine selections in almost infinite ways, and add sophisticated touches to your images that you previously needed Photoshop for.
(more…)
by Michael Frye | Nov 3, 2022 | Digital Darkroom
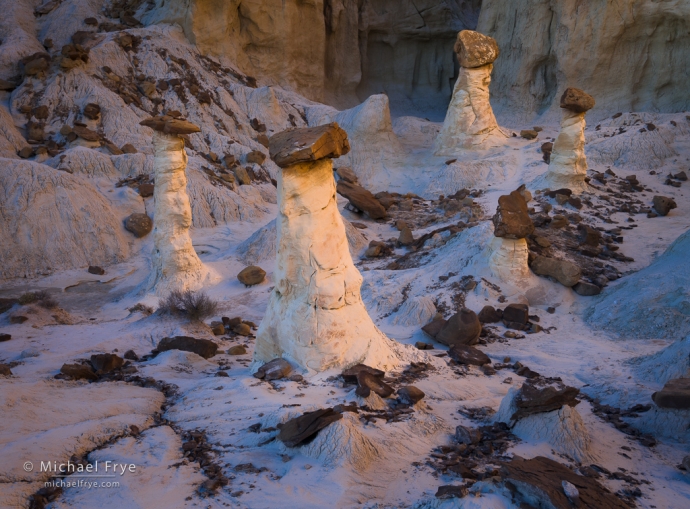
Hoodoos in reflected light, Grand Staircase-Escalante NM, Utah. The new Object selection tool helped me select just the hoodoos, then invert that selection and subtly darken their surroundings.
After coming back from New Zealand I spent a few days at home, then headed up to the Oregon Coast to scout for our upcoming workshop. It’s been a busy month, but before the workshop starts I want to share some thoughts about that latest Lightroom update.
On October 24th Adobe announced major updates to Lightroom, Lightroom Classic, and Adobe Camera Raw. (The new version of Lightroom Classic is 12.0.) And I think it’s a big upgrade. To me, the most exciting new features for landscape photographers are the addition of a Content-Aware mode for the Healing tool (formerly the Spot Removal tool), and the new Object Selection tool in the Masking Panel.
(more…)
by Michael Frye | Apr 7, 2022 | Announcements, Digital Darkroom
My online Lightroom courses concentrate on processing your images in the Develop Module. They’re designed to help you get the most out of your photographs, and enhance your original vision without making the images look unnatural.
But of course there are other aspects of Lightroom. The most important of these – and the part that often causes the most trouble and confusion for people – is the organizational part: importing, setting up folder structures, sorting images, finding images, and so on.
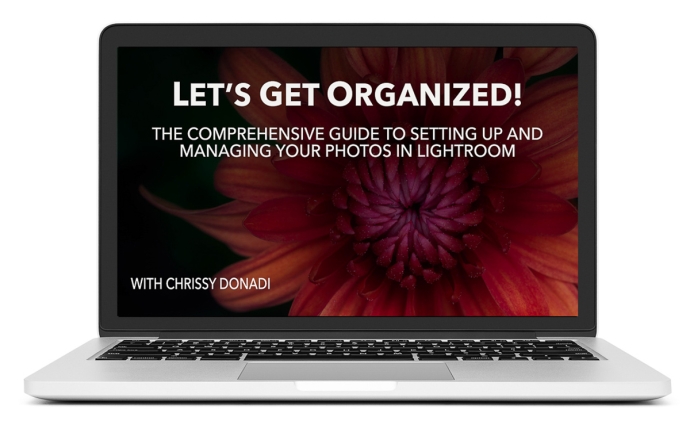
I often get asked whether I can recommend a book or course about that organizational aspect of Lightroom, and I’m happy to say that I finally can. Our friend Chrissy Donadi just launched her Lightroom course called Let’s Get Organized! It’s a thorough, comprehensive look at how to efficiently setup, organize, and maintain your photo library in Lightroom Classic. Chrissy does a great job of explaining everything clearly, with all the information you need – but not more than you need.
(more…)
by Michael Frye | Mar 26, 2022 | Digital Darkroom
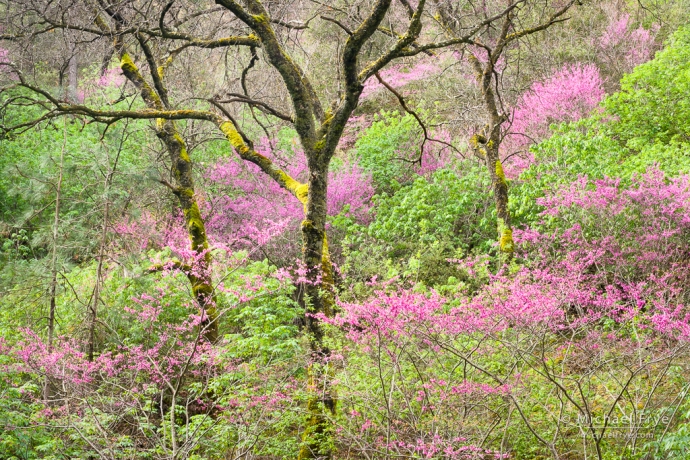
Redbud and oaks, Sierra Foothills, California
Next Saturday (April 2nd) I’ll be conducting a live Lightroom Q&A webinar. This is a chance for members of our Education Center to ask me any Lightroom-related question!
You can become a member of our Education Center by purchasing one of my Lightroom courses. My latest course, Lightroom’s Masking Panel: In Depth, is only $20! Or check out my other two courses: Landscapes in Lightroom: The Essential Step-by-Step Guide and Landscapes in Lightroom: Advanced Techniques.
(more…)
by Michael Frye | Feb 9, 2022 | Digital Darkroom
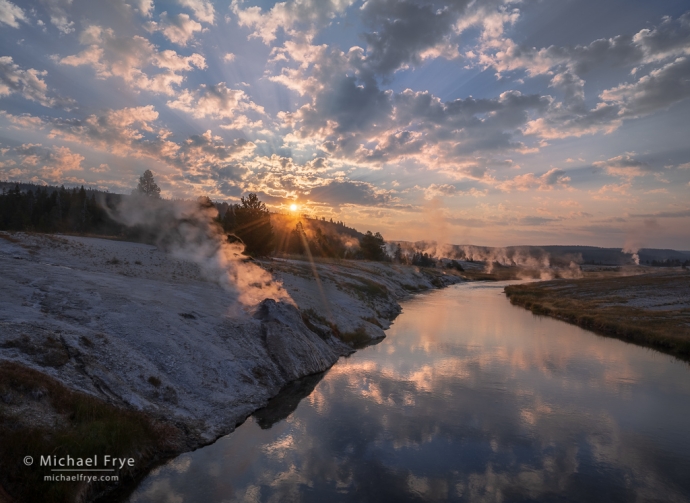
Firehole River at sunrise, Yellowstone National Park, Wyoming. For this high-contrast scene I made five exposures, two stops apart, and blended them with Lightroom’s HDR Merge. That part’s easy; the real challenge is balancing the contrast in that merged file. You usually want to see some detail in even the darkest shadows and brightest highlights, but to do that in a natural-looking way often requires skillful dodging and burning.
My first live Lightroom processing demonstration in January went really well. It was a lot of fun, and I think everyone who attended learned a lot. So we’re going to do another one!
This one will take place on Saturday, February 19th, at 10:30 a.m. Pacific Time. Once again I’ll host a live webinar where I’ll pick a photo from a member of our Education Center and show how I would process it. The webinar should last about 60 to 90 minutes.
(more…)


