Digital Darkroom
by Michael Frye | Dec 9, 2010 | Announcements, Digital Darkroom

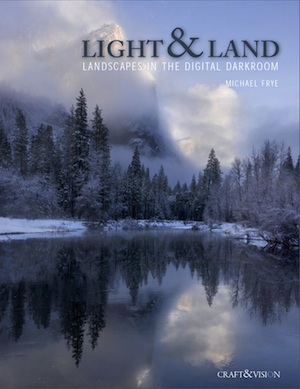
My first eBook, Light & Land: Landscapes in the Digital Darkroom, will be released next week on December 15th.
Light & Land is a natural successor to my last book, Digital Landscape Photography: In the Footsteps of Ansel Adams and the Great Masters. In the last chapter of that volume I talk about the fundamental tenets of the digital darkroom, like workflow, creating a master file, curves, and dodging and burning. In Light & Land I delve into more detail, discussing every decision about processing five different images, demonstrating the workflow from beginning to end, and, most importantly, showing you how you can use your original idea, your inspiration for pressing the shutter, to guide you as you work in the digital darkroom.
It’s published in conjunction with Craft & Vision, David duChemin’s great photography eBook site. Like all their eBooks, Light & Land will be only five dollars.
Stay tuned for more details!
by Michael Frye | Jul 27, 2010 | Advanced Techniques, Digital Darkroom, Video Tutorials

Vision is the most important part of photography. Your eye is what makes the difference between a great photograph and a mediocre one.
But when realizing your vision and making it come to life in the final image, getting the right color is vital.
Recently I posted two videos about using curves in Photoshop, Lightroom, and Camera Raw. But there’s a more fundamental step that I haven’t talked about, something you might want to do with Raw files before adding curves, correcting white balance, or doing anything else: choosing a profile.
What is a Camera Profile?
A camera profile is a translator: it’s translates the colors that a camera captures into the colors they should be. In other words, if a certain camera tends to turn reds into orange, the profile will correct for that and convert those reds back to their proper hue. Of course there’s no such thing as “correct” color—it’s all subjective. So profiles can come in different flavors: more saturated, less saturated, more contrasty, etc. Choosing the right flavor for your image is the first step toward making your visualization come to life.
I’ve posted a new video on YouTube that delves into this seemingly esoteric yet actually quite simple subject. In it I show you how to choose different profiles in Lightroom, and explore whether creating a custom profile might be worthwhile. I evaluate some profiles I made with the X-Rite ColorChecker Passport, a $99 package for making custom camera profiles in any lighting situation. Yes, full disclosure, they actually gave this to me for free—I must be hitting the big time!
Also, there’s one more reason for exploring different profile options: reducing noise, banding, and posterization. I show an example where the profile choice made a dramatic difference in noise and banding.

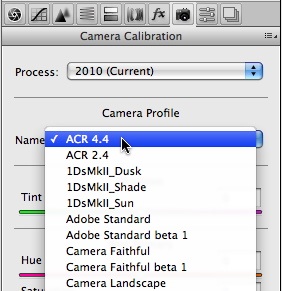
I didn’t have time to demonstrate it in the video, but the same profile choices are also available in Adobe Camera Raw—just look under the Camera Calibration tab, third from the right, as shown here.
So here’s a link to the video:
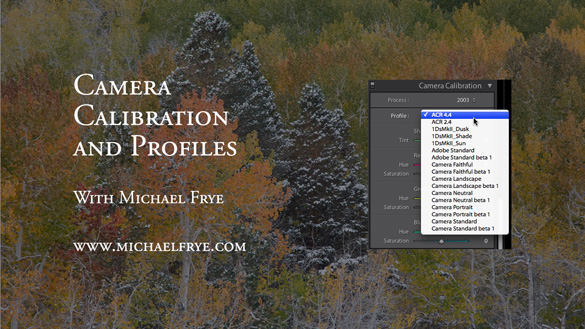
Camera Calibration and Profiles
As always, it helps to view this at the highest resolution, 480p, and click on the double-sided arrow to make the video larger.
I hope you enjoy it! Comments are always appreciated, and if you like video, please share it with a friend: Email this article, or click on one of the buttons below to post it on Facebook or Twitter.
by Michael Frye | Jul 6, 2010 | Advanced Techniques, Digital Darkroom, Video Tutorials

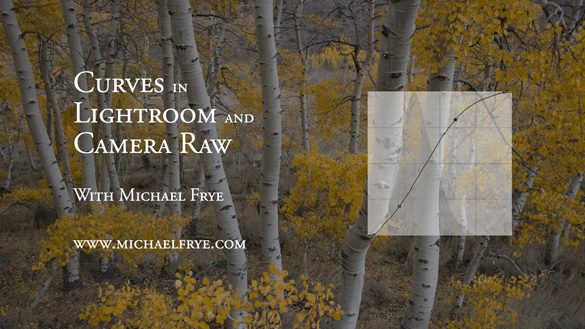
Curves in Lightroom and Camera Raw
As promised, I’ve posted another tutorial on YouTube about Curves in Lightroom and Adobe Camera Raw. In this video I examine the default settings in these applications, and why you should avoid using them—at least sometimes. These defaults actually apply three curves to your image before you even start processing it. Watch the video to see what’s really going on “under the hood” with the settings in Lightroom and Camera Raw.
Again I had to break this into two parts; here are the links:
Curves in Lightroom and Camera Raw – Part 1
Curves in Lightroom and Camera Raw – Part 2
 I hope you enjoy these—comments are always welcome! To see everything clearly you need to view in high resolution—click on where it says 240p or 360p in the lower-right corner and choose 480p. Also, if you click on the little double-sided arrow you’ll see the video larger.
by Michael Frye | Jun 24, 2010 | Advanced Techniques, Digital Darkroom, Video Tutorials

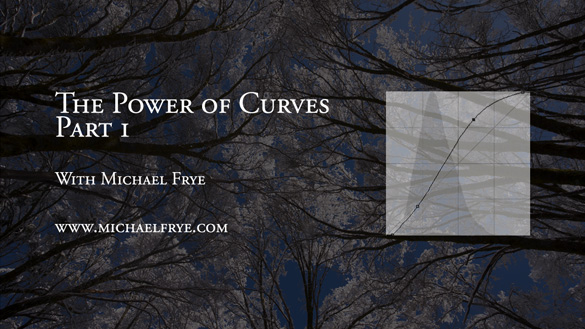
I did something I’ve wanted to do for a long time: post a video tutorial on YouTube. It’s called The Power of Curves, and it’s about, well, curves in Photoshop. This is one of those things that’s just easier to show than explain, so it’s a perfect subject for video.
I think Curves are the single most powerful tool in the digital darkroom; if you learn to master Curves, you’re well on your way to mastering image-processing. Curves tend to intimidate some people, as they seem foreign if you haven’t used them before. But Curves are really quite simple, and I hope this video helps clarify how to use this amazing tool. I had to break this into two parts; here are the links:
The Power of Curves Part 1
The Power of Curves Part 2
Originally I had wanted to talk about the new Point Curve feature in Lightroom 3, but then realized that I needed to explain some basics about Curves first, and that Photoshop was a better tool for that. But I’ll post another video in about two weeks about using Curves in Lightroom and Adobe Camera Raw, and about dealing with their strange default settings.
 So I hope you enjoy these—let me know what you think! To see everything clearly you need to view in high resolution—click on where it says 240p or 360p in the lower-right corner and choose 480p. Also, if you click on the little double-sided arrow you’ll see the video larger.
by Michael Frye | May 27, 2010 | Digital Darkroom

This photograph of Mono Lake, processed entirely in Lightroom, shows the power of modern applications that work directly with Raw images.
There are probably as many workflows as there are photographers. There’s nothing wrong with that: everyone’s different, and a good workflow for one person can seem awkward to another. But sometimes I look at people’s workflows and think the pieces have been gathered from random tips found on the internet, assembled in no particular order, and held together with duct tape and chewing gum.
Just because you’ve always done it one way doesn’t mean that’s the best way. It’s worth periodically examining your practices to see if they still serve you. I do this all the time: I question each step, and ask if there’s a better way to do it. I look at new tools and techniques and see if they could add efficiency, power, or flexibility. I’m constantly refining and improving my workflow, and in the long run this saves me hours of valuable time.
What is a workflow?
Simply put, it’s all the steps you take to process images, including downloading, editing, keywording, developing, and output (printing or uploading images to the web). While you don’t always have to perform each task in the same order every time, it’s helpful to develop a routine so you don’t forget important steps, and don’t need to invent new procedures for each photograph. In this post I’m going to concentrate on the developing part—the operations you perform to optimize an image and make it look its best.
(more…)
by Michael Frye | Dec 14, 2009 | Digital Darkroom, Photography Tips

Back in the dark ages of film, I carried several graduated neutral-density filters. They were both hard to pronounce and hard to use. First I had to decide which one to pull out—one, two, or three stops? Hard edge or soft? Then, after mounting one on the lens, I struggled to adjust it. The transition—the “graduated” part of the filter—could be almost impossible to see through the viewfinder. The light often vanished while I was still fiddling.
With my first digital camera I realized that graduated filters were no longer necessary. I could recreate the same effect in Photoshop, with more ease and control. And now the latest versions of Lightroom and Adobe Camera Raw even have built-in graduated filter tools. The photographs above show a before-and-after version done with Lightroom—original on the left, digital graduated filter applied on the right to lighten the foreground.
My latest article in the December issue of Digital Photo magazine (formerly PC Photo), titled Digital Graduated Filters, describes how to use the Graduated Filter tools in Lightroom and Camera Raw, plus how to achieve the same effect with Photoshop. The article isn’t on the their web site, but you can find the magazine at newsstands now. I have a related article on my site with some, but not all, of the same material.

