Landscapes in Lightroom: Importing the DNG Raw Files
Here’s how to import the DNG Raw files into Lightroom:
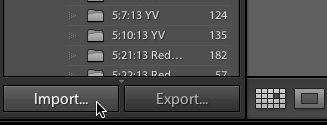
1. Go to Lightroom’s Library Module, then click on Import in the lower-left corner:
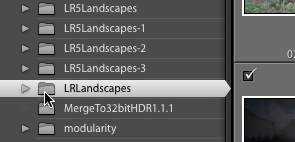
2. In the ensuing Import window, on the left-hand side under Source, navigate to the folder called LRLandscapes that contains the DNG files and select it. (Unless you moved it, this should be in your Downloads folder.)
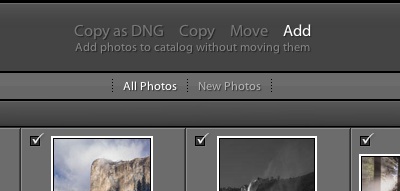
3. Still in the Import window, in the middle along the top, make sure that “Add” and “All Photos” are selected:
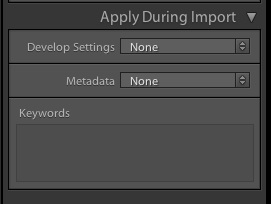
4. Still in the Import window, along the right side under Apply During Import, make sure that Develop Settings and Metadata are both set to “None:”
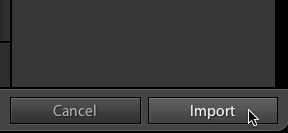
5. Now you’re ready to click on the Import button in the lower-right corner. It should only take a few seconds for Lightroom to import the images, and then you’re ready to use them.